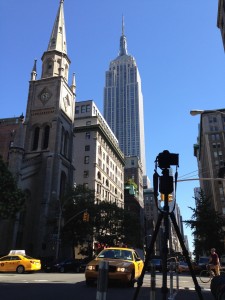
Making your own time lapse video is relatively easy. It can be done on most cameras using a built-in features or by purchasing some relatively cheap additional equipment. You may need additional software to process the images and create the time lapse footage.
Time lapse is the most basic form of film making. Stitching together hundreds or thousands of individual photographs to create one piece of footage. In fact we need 25 individual photographs to make one second of footage.
“Time-lapse photography is a technique whereby the frequency at which film frames are captured (the frame rate) is much lower than that used to view the sequence. When played at normal speed, time appears to be moving faster and thus lapsing. For example, an image of a scene may be captured once every second, then played back at 25 frames per second; the result is an apparent 25 times speed increase”. Wikipedia
Hopefully the following will make things clearer?

There are basically six easy steps to follow when creating a time lapse video:
Step 1. Select which file format? RAW or JPEG? There are advantages with RAW files.
Step 2. Camera Positioning-This will be the difference between an average time lapse video and a great one.
Step 3. Framing & Composition- Same as above. You really need to anticipate what is going to happen within your frame during the recording.
Step 4. Focusing- Turn off the autofocus! This is essential
Step 5. Programming the Camera and Recording-Do lots of research and experimentation and you will learn what settings works best for different situations.
Step 6. Processing the image files and creating there time lapse sequences-After all your hard work, it is essential you get the best out of your image files.
Now you know how to create a time lapse video
Please visit our TIME LAPSE EXPLAINED page for more detailed instructions.
