How to shoot a time lapse panning shot is quite simple. To create a successful time lapse panning shot you need a device which will move the camera in between each exposure. There are a few options on the market but we use the excellent Syrp Genie. This beautifully designed piece of equipment enables you to shoot both pan and linear movements. It is very simple to set-up and operate.
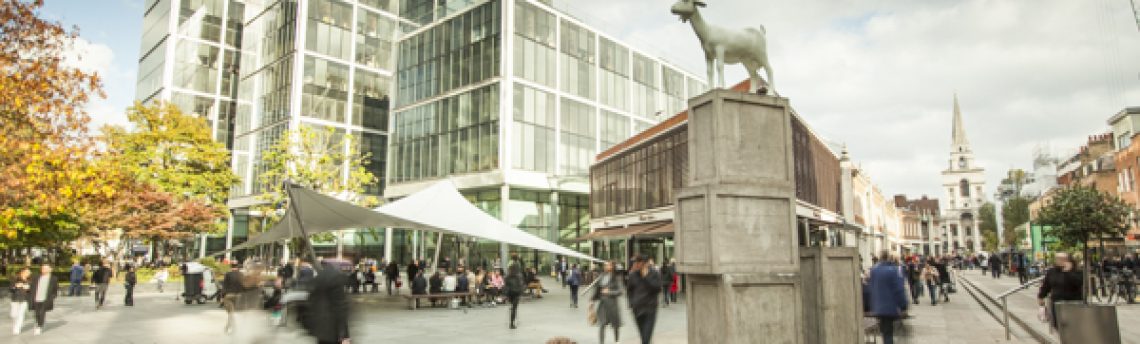
This video was shot In Spitalfields using the Genie with right to left pan , taking a photo every 1 second. I used a neutral density filter to cut down the exposure so I could use a very slow shutter speed to blur the crowds. I shot RAW files so I could produce a 4K video
Please visit our CREATIVE TIME LAPSE page featuring loads of information about manned time lapse options
Fix the Genie directly on to your tripod. Fix a ball and socket head on to the Genie, and finally your DSLR. Connect your camera (with the supplied cable) and the Genie can then control the movement and fire the shutter.
These are the options:
Recording time
This is the amount of time you want the Genie to run for. Set this to a time that suits the scene you are shooting.
Output play time
This is the time that you would like your final video to play for after you have compiled all of the images. The Genie will use this setting, together with the frame rate you have set, to determine the total number of shots it needs to take and how long to wait between each of them. By adjusting this value the interval between the shots will also change.
Interval
The interval is the time between each exposure the Genie tells your camera to capture. The interval will be calculated from the recording time and the output play time. If you have a particular interval you like to shoot with, you can adjust the interval setting and the play time will update to match. If you are shooting long exposures, make sure that the interval is long enough to allow the camera to finish capturing the image as well as processing the data.
Movement
This sets the angle (in panning) or distance (in linear) as well as the direction. Also set Left to Right or Right to Left.
Preview
Set the camera to video and using the video preview facility decide on a suitable panning distance. This runs the Genie at the video playback speed based on the settings you have chosen. Switch the camera aback to stills.
Save as new pre-set
If you want to save your settings and use the again on other shoots you can save a preset. This will add a new preset to the timelapse menu.
Start
Once you have been through these settings you can hit start and your timelapse will begin.
There are a few other settings that will enhance your time lapse panning video.